The beauty products available in the market come in different ranges. From being toxic for the skin to being drenched in harmful chemicals, these products are laid in front of us for our usage. But what if you could create a better face pack than the Rs. 2000/- kit which provides you temporary and extreme results? Well, here are some of the natural rescue ingredients you can find either in your kitchen or in the nearest grocery stores. Save the money, spend it on food… Or movies… I don’t know!
1-De-tanning wax
That sneaky hair on various parts of our body is more clingy than we girls would like them to be. But with this remedy, you can get rid of that hair and de-tan your skin at the same time. This method is not only a lot more gentle on your skin, but reduces the growth whatsoever, overtime.
Ingredients:
a. 2 teaspoons gelatine powder (jelly powder can be found at any bakery store near your place)
b. 2 teaspoons potato juice (peel the potato and grind it into a fine paste. Press it through the sieve and collect the juice in a bowl)
c. 5 teaspoon milk (preferably raw milk)
You can even pour a half tablespoon of baking soda for better results.
Mix all the ingredients thoroughly in a container and place it in hot water to melt the gelatine powder. You can place the mixture in the microwave for 30 seconds at a time to melt the paste. And viola! there you have the cheapest and the safest de-tanning wax in less than ten minutes.
Application:
Before applying the paste, make sure that the part of our skin is oil and moisture free. Using a brush or fingers, apply the paste in the direction of your hair growth. The amount depends on the consistency of your wax.
Let it sit and dry which will take around 15 to 20 minutes.
Now, peel the layer of the wax in the opposite direction of the hair growth.
2-Natural smudge free Kajal

The safest Kajal in the market is not available yet. The ones under Rs. 200/- are not at all usable because the quality they offer has the potential to turn you blind! Here is one of my favorite methods to make homemade kohl which is literally of no cost, safe and extremely smooth for the purpose of application
Ingredients:
a. An earthen Diya (a big one)
b. cotton batti (roll out thick and long sticks of cotton)
c. homemade ghee enough for the Diya to fill up (the market based should be pasteurised)
d. a large plate made up of steel
e. coconut oil/shea butter/coconut butter
Preparation:
Pour the ghee inside the Diya and place the batti creating a cross in the middle. Arrange some utensils around the Diya to support the steel plate which will be placed above the Diya to cover it. Light the Diya and let it burn under the steel plate. Wait till it’s completely burnt and cooled down.
You’ll notice that the Kohl content has collected on the surface of the plate.
Scrub it out with the help of ghee/coconut oil/shea butter/coconut butter by mixing it with the color content.
And there you have it, the darkest and safest Kohl which is easily applicable using any makeup brush
TIP: To make your Kohl smudge free and long lasting, mix the crushed ashes of a burnt almond in the mixture to up the quality and color of the Kohl.
3-Eyelash enhancing serum
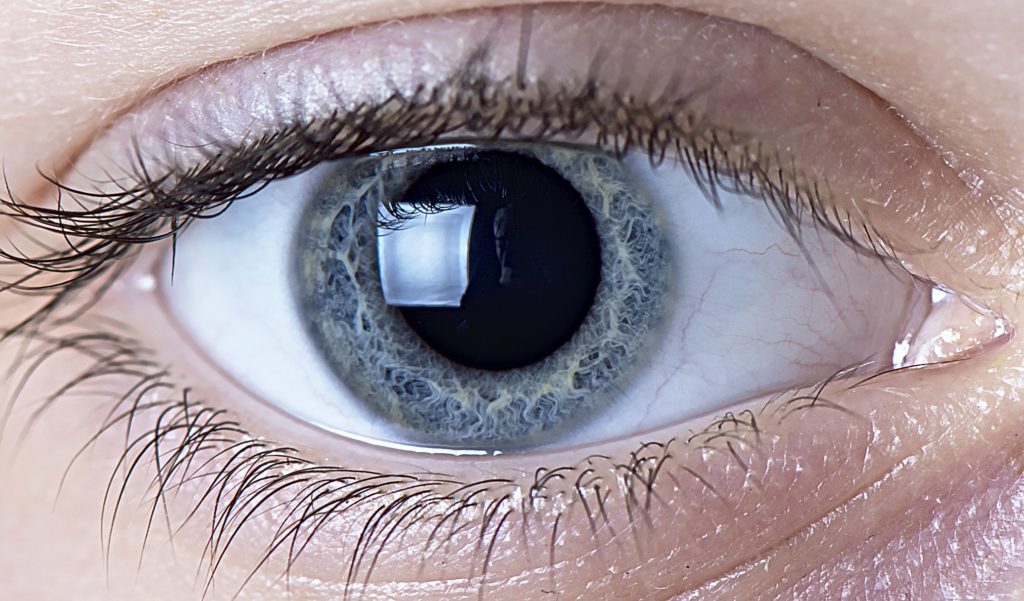
Eyelashes decorate the eyes like clothes do for our body. They not only protect our eyes but also are an accessory if taken care of. Let’s go through the ingredients of the serum and get started already!
Ingredients:
a. 1/2 tablespoon coconut oil
b. 1/2 tablespoon castor oil
c. 2 capsules of Vitamin E (any edible capsule can be opened to extract its inner liquid)
Application:
To begin, make sure your face and your fingers are clean. Apply a thin layer of the serum on the baseline/roots of the lash line and massage it for 30 to 40 seconds. Preferable applying time should be at night for the best results because the eyes are least disturbed at that time.
Your lashes will be fluttery and luscious in not more than one week. If the results are not as per your wish, worry not. Our diet and our habits also have a direct and indirect effect on the way our skin appears and our hair grow. You might want to reflect on your diet for best results.
4-Nail growth enhancing serum
Forget about spending hundreds on manicures to get those temporary long and strong nails. With this natural serum, you can enhance your growth and quality of nails without the hassle of being cranky about your nails after you’ve had a manicure done.
Ingredients:
a. 1/2 teaspoon aloe vera gel (it can be extracted by using an aloe vera leaf or you can use Greenleaf aloe vera gel which I personally recommend)
b. 1/2 teaspoon coconut oil/olive oil/castor oil
c. One capsule of Vitamin E
Preparation and Application:
Mix all the ingredients in a clean container. (I’m sorry, why was that a step again?)
Before you apply the serum, peel one clove of garlic and crush it finely. Rub the paste on the cuticles of your nails and massage for 20 to 30 seconds.
Now, after a span of 10 minutes while letting the cuticles absorb garlic, apply the serum with your fingers on the cuticles and massage it for 2 minutes.
Let the serum sit for 2 to 3 hours and wash your hands with lukewarm water afterward.
Preferable usage time is the night when the body is engaged in recycling and replenishing your body resources.
The results are again dependent on your lifestyle. The amount of time you spend in daily chores underwater, the type of nail paint you use or the diet you have has a massive effect on the quality of your nails.
5-Hair straightening cream

Burning your hair under the iron, dipping your hair in chemicals to get those straight and long locks? Not anymore! Here is a natural cream that not only straightens your hair but also heals your damaged hair. Let’s get on, shall we?
Ingredients:
a. One coconut (whole)
b. One glass of raw milk
c. 2 Tablespoon aloe vera gel.
d. 1 tablespoon cornflour.
e. 1 tablespoon coconut oil/olive oil/castor oil
Preparation:
Peel the coconut and prepare the paste of its juicy flesh. Pour some water in it if required. Press it through the sieve and extract its milk in a bowl.
Now, heat a pan on the stove and pour one glass of milk in it. Stir till simmering. Pour one tablespoon of corn flour and mix well to avoid or remove any lumps.
Stir until thick and pour the coconut milk we have just extracted from the paste of its flesh. Mix well and let it cook for not more than two minutes.
Take it off the heat and let it cool down till you can touch it without flinching.
Once that is done, pour two tablespoons of castor oil/coconut oil/olive oil and aloe vera gel each and mix well.
Application:
Once the mixture is prepared, wash your hair to prepare it. Make sure your hair is free of any serum or other product.
Take a strand of hair from the back of your head and apply the cream. Now, using a bobby pin, secure the hair by wrapping it around the top of your head like a hairband in the opposite direction.
Repeat the same till all the hair are covered and secured in the cream.
Cover your hair with a towel soaked in warm water and wrap it around your hair to let it sit for 3 hours.
Wash your hair afterward with lukewarm water and if you wish you apply shampoo, make sure it is an organic one.
Repeat this mask every time you wish to have straight hair.
So, here we are. Using nature to look beautiful will never go out of style.
Cheers!






Comments ( 3 )
Samara Roy
Hi, I would like to thank you for sharing such useful and easy beauty tips. You wrote such a great article, which i can follow in my day to day life. Thanks..
snpaa[
hello my comment
JK Fashions
Nice one…!