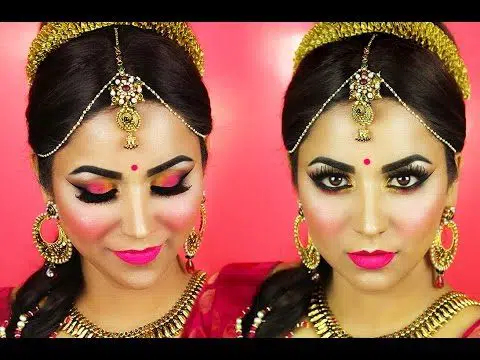
Contouring has been the biggest rave for beauty fanatics around the world. However, it might seem daunting for beginners who are planning to try their hands on this trend and don’t know much about the process yet. To make you more accustom to this part of your regular makeup routine follow the tips in this post to ensure that you are applying the right makeup in the right way to the right places and blending it sufficiently.
After mastering the art of contouring don’t forget to share the pictures with us.
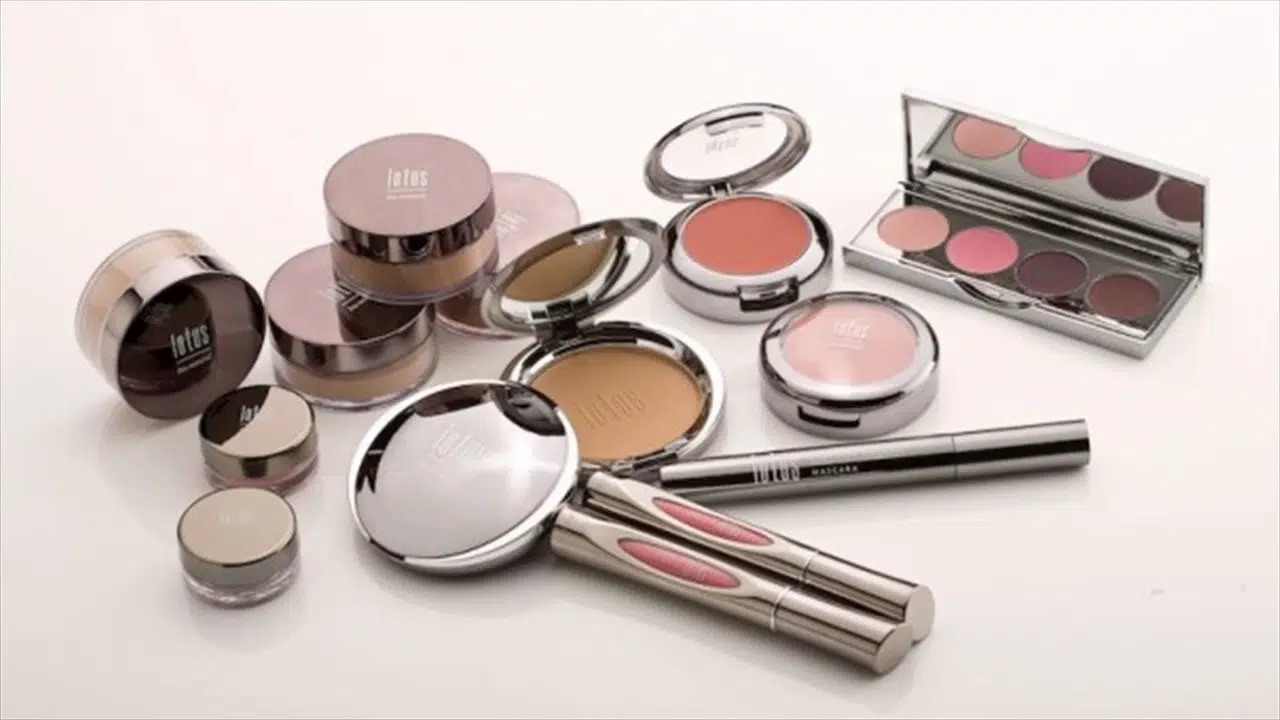
Kit needed:
Your existing foundation plus two stick foundations: (1-2 shades lighter, 1-2 shades darker than skin tone)
Blending brush or sponge
Highlighters/Illuminators, if you want
*Optional: translucent powder, setting spray
Pro tip: When contouring, you can use either cream based or powder products. You can even use a combination of the two, it is all up to you.
STEP 1: Know your face shape

The first and most important step when contouring is to know your face well. You cannot just use the same technique because each face is different and so there is a slightly different placement of the contour.
Let us help you with the face shape first. There are six face shapes to consider when determining which one is yours: Oval, Long, Round, Square, Heart, and Diamond.
STEP 2: Map your face

With the darker of the two stick foundations trace the areas where you want to give a slimming effect and use the lighter stick to highlight the areas which you want to stand out. For your convenience, we have given below the exact areas for contouring.
Things you need to consider while contouring your face shape.
- Heart shape: Swipe your brush along the sides of your forehead near the hairline, underneath your cheekbones and in the hollows of your cheek area.
- Oblong shape: Start right at the top of the forehead area and on each side of the jaw, blending toward the chin.
- Oval shape: Add dimension underneath your cheekbones to make them appear more prominent.
- Round shape: Apply on the sides of your forehead, underneath your cheekbones and along the jawline.
- Square shape: “On the sides of your forehead and below the cheekbones pointing down toward the chin.”
- Diamond shape: “The lower cheekbones, toward the chin area only.”
STEP 3: Blend it
Take a damp blender and tap over the area of the contour color, merging it into your base foundation. Tap in small circular motions using the bigger, rounded end of the beauty blender because it has more space. However I still feel for details like the sides of the nose, and near eyes it is better to use your own fingers.
The lighter concealer should be blended to bring forward or to simply conceal. Mostly it is done on the bridge of your nose, chin, under eye area and the middle of your forehead. Use the darker concealer and blend to add more depth. in most cases, the areas would be the sides of your nose, the jawline, the hollows of your cheeks, your temples and the perimeter of your forehead.
Buy here- Makeup brush
Step 4: Dust it
When all done you need a fluffy brush and dust the entire face with loose powder. The best would be translucent for securing a cream foundation.

Buy here- Makeup fixing spray.
If you found this post useful, sharing with your friends. Subscribe and get more beauty tips on India Fashion Blogger.
Stay tuned!


Comments ( 2 )
jay
wow beautifully explained
Designer Gursimran
Thanks for sharing this information to start a new blog on women’s fashion. I really like your work.